Are you bored with the current look of your kitchen? Maybe you no longer feel good cooking there? If it’s time your kitchen got a facelift, but you have no idea where to start, you are in the right place. Remodeling a kitchen is not an easy task, and it’s sure to take longer than you think. A complete kitchen remodeling needs careful planning and a sequence of steps to be followed.
It is essential to be realistic about the time frame. Also, plan ahead for any tools and gadgets you might need, so you won’t need to make multiple trips to the hardware store. If you’re on a budget, having everything planned out beforehand might allow you to ask your friends and family if they can lend you any of the pricier items you might need. Kitchen transformations are one of the hardest renovations to DIY, but has a huge impact on how you feel inside your home. This is another reason you’d want to do it right the first time.
Therefore, we have developed this guide to make sure you do not miss any important steps. Our article should give you a rough idea of how the process moves along and where you should start. If you have your ideas and design for you new kitchen ready to go, then dive in!
Start Demolishing
Before starting to remodel, we need our kitchen to become a blank slate, and that is where the demolishing comes in. It can be messy and noisy, but you can also make it fun. First off, we do not want you to break any china or other belongings! So, set all of your personal items safely in boxes and move them to another room.
Next, remove the appliances. Set them aside in your garage or another safe area if you plan on keeping them. Then, remove any old cabinetry, flooring, and tiles. This stage may not require the help of an outside construction crew unless there are bearing walls involved. When doing so, remember to wear proper safety gear and do not injure yourself along the way. Also, take care not to damage any wiring or appliances, as fixing them may be very costly.
Rough-In Work
After the demolition, we will move to the bare bones of your new kitchen. Check with the design plans you had drawn up before the renovation. If you had planned for new windows or window removal, get that out of the way now. At this stage, you will need to complete the framing for your new cabinets and island, if you’d like one. Any changes in plumbing routes should also be taken care of now.
This part helps you sketch a rough layout before starting installation. The rough-in process may take time for some people since it depends on how much renovation it involves. However, we do not recommend hurrying this stage along since it sets the base for future steps.
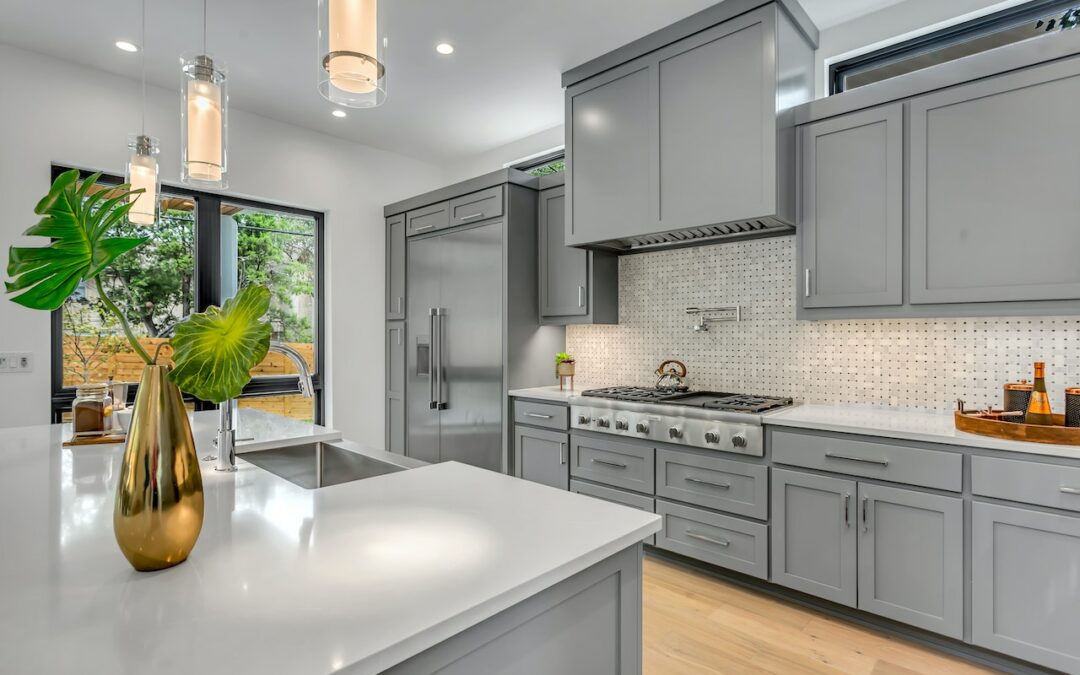
Install Cabinets and Finish Walls
Since we have done the rough-in work smoothly, we can comfortably move on to other features. Paint your ceiling and walls before you install cabinets. Install your cabinets carefully, remembering the rule, “Measure twice, do once.” Once your cabinetry is installed, you can install your backsplash, whether it be marble, tile, or anything else. Measure your countertop thickness before doing any tiling so you can be more precise with your backsplash. Remember, use a drywall primer when painting if you do not plan on reapplying paint for some time. This primer will protect your paint job from accidents, especially when moving cabinetry and other heavy furniture.
Appliances and Hardware
If you plan to connect the removed appliances, this is the time to reinstall them. If you’re updating your kitchen appliances or kitchen cabinets, you should plan to have your new appliances delivered by this stage. Review the design map to confirm the places of your oven, refrigerator, and stove. In this stage, you can really see your kitchen start to come together!
Lastly, do not forget to install the sink, faucet, and countertops. Countertops always come after you get your cabinets in place, and the reason is that they need a perfect size template. In addition, if you are worried about airflow, you might want to install a range hood above your cooking area.
Install New Flooring
Once the appliances are in place, you can install the flooring. The time this step takes differs depending on the kind of flooring you’d like to install. If you are using your old one, it may require extensive repair.
Flooring comes in several different options, and you can choose any that you find best. From vinyl to ceramic and wooden, there are many choices of common laminate flooring you can choose from. Moreover, these options can easily be installed by non-professionals at home. So, you can save money here. In contrast, some more luxurious ceramic and wooden flooring solutions require extensive labor and are not quite as popular with DIYers.
The Finishing Touches
Now that we have finished the bulk of the work, it is time to review a few things on kitchen remodeling contractors and put on the final touches for interior renovations. Let the look and feel of your new kitchen sink in and look for any last details that would bring your vision to life. Check for any missed details, unfinished molding, or loose pieces. Give the room a good cleaning.
Decorate with your personal items and fresh flowers. For most people, this is the most fun and rewarding step. Have fun while crafting the final look of your new kitchen! To celebrate, sit back, relax, make your favorite dish, and enjoy with your loved ones.
Kitchen Renovation- Final Thoughts
Even though the kitchen is usually where all the cooking takes place, it is much more than that. The recipes and tastes need the right atmosphere and environment to work. Therefore, if you think you do not own a comfortable kitchen already, fret not because this guide will help you remodel one yourself.
With over a decade of experience in kitchen renovations, we have laid down the primary and most manageable steps that you can use to get a brand new kitchen look. So, whether you want a spacious one to set up your food storage, bakery items or personalize it to your unique taste, this guide will significantly help.